
- Introduction
- Choosing The Right Microneedle Tools
- What's The Banish Kit?
- How To Microneedle Using The Banish Kit
- Post-Microneedling Care
- Are the Results Permanent?
- Can I Use Banish Products While On Accutane?
- Can I Use Banish Products While Pregnant?
- Conclusion
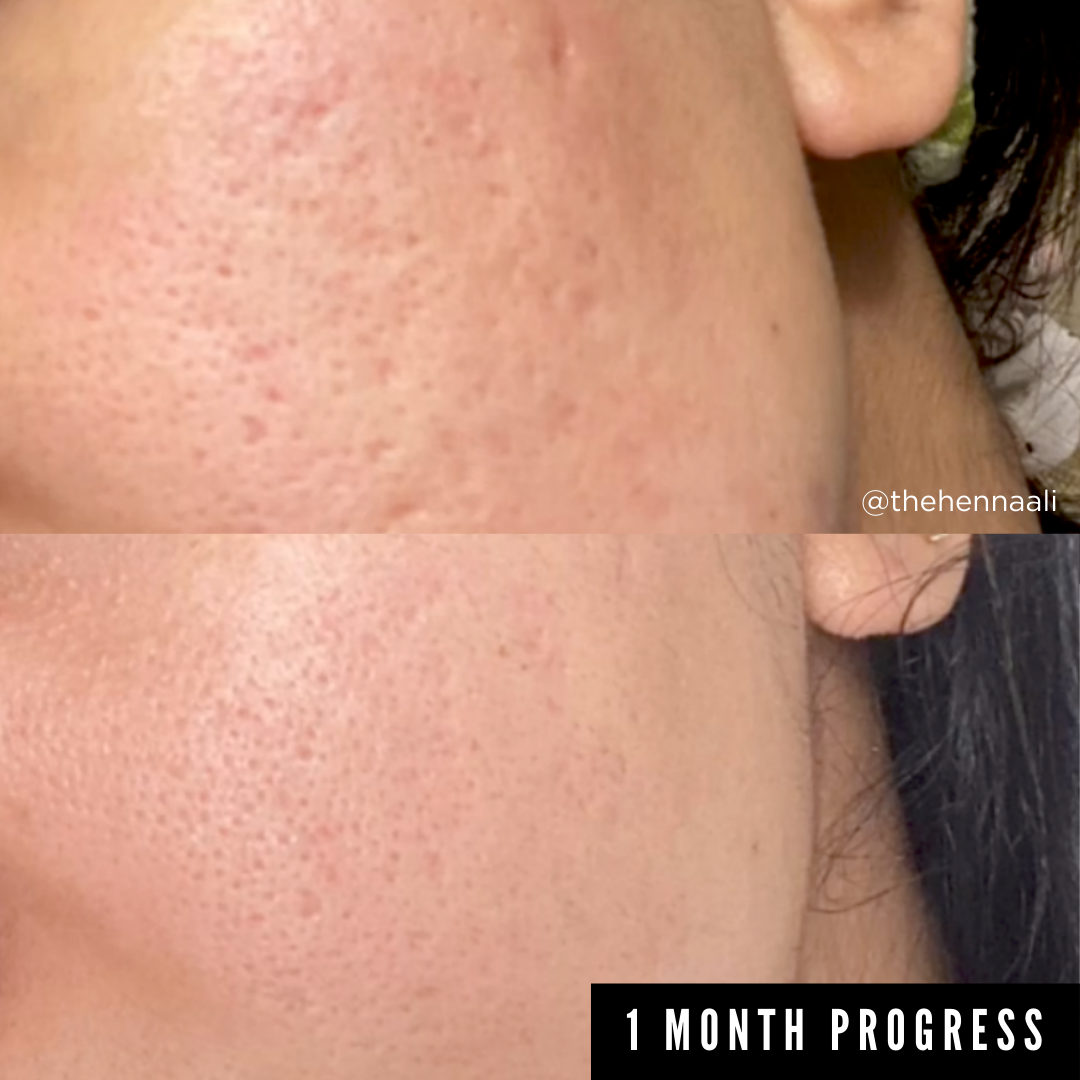
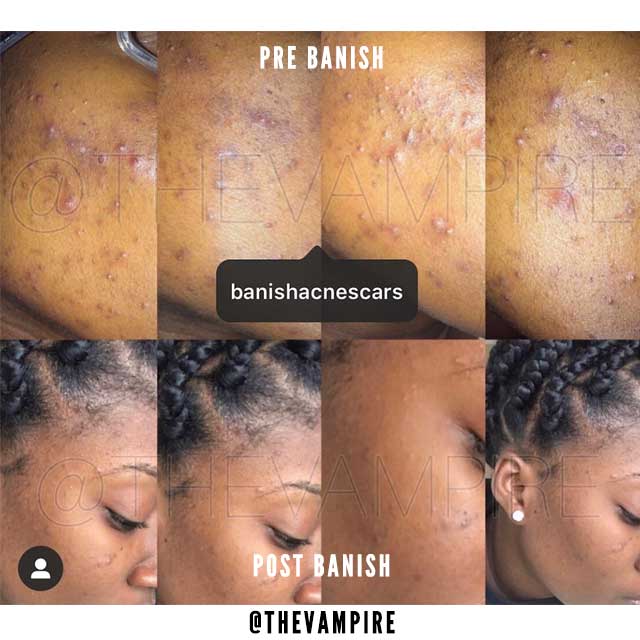
Tired of all those pesky acne scars and looking for a possible solution? Microneedling at home can be your trusted companion in treating acne scars and hyperpigmentation at home.
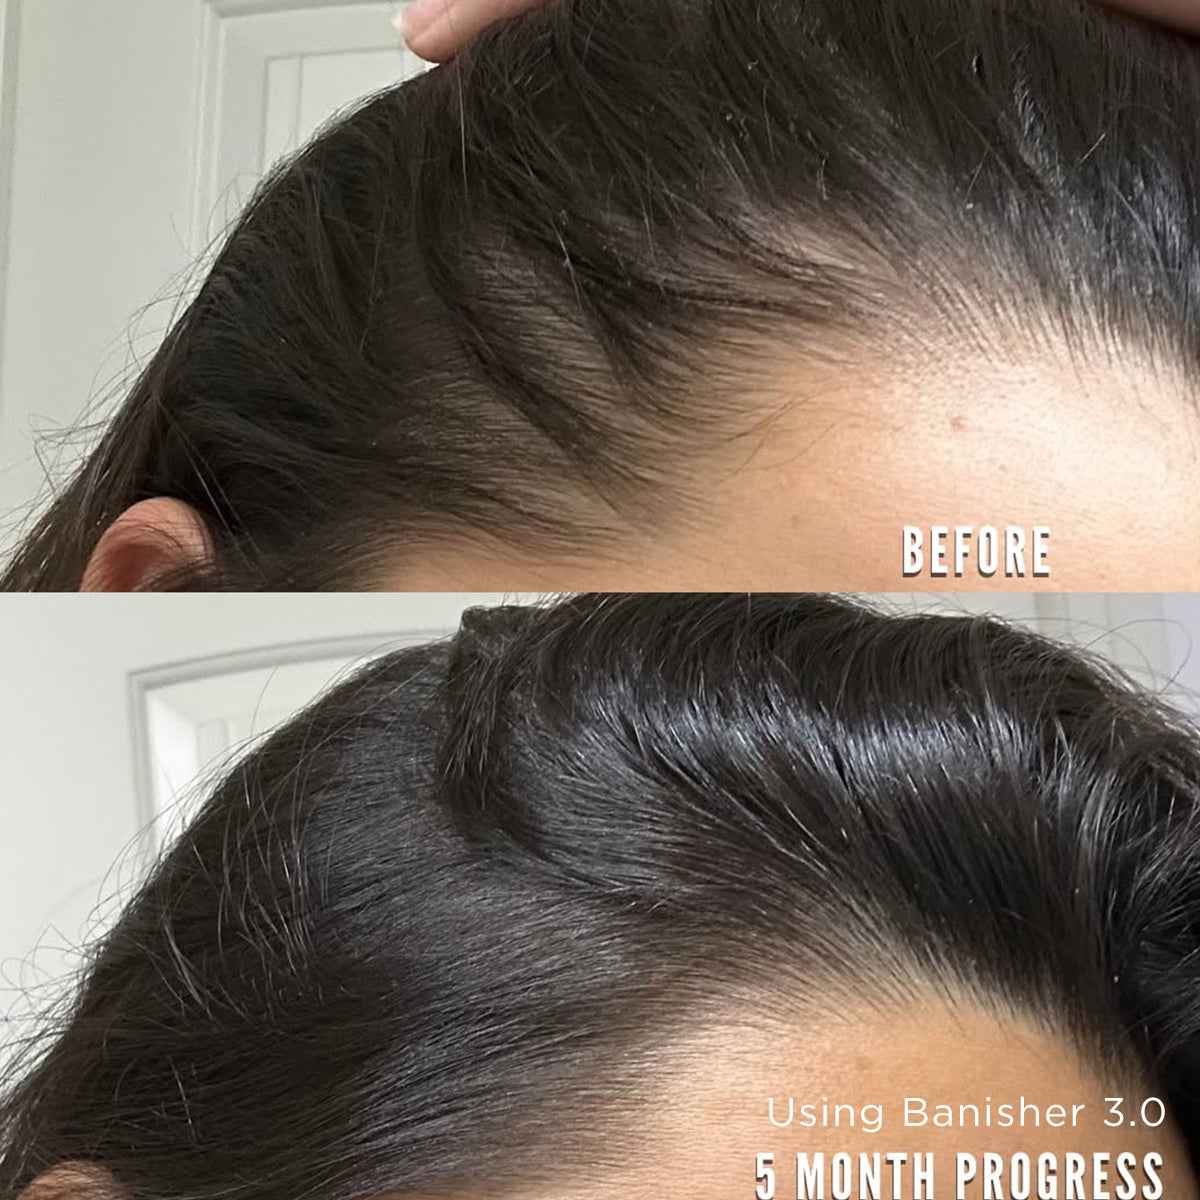
Other than scars, microneedling also helps reduce the look of stretch marks and fine lines, by increasing collagen in the skin.
Imagine this scenario: you’ve just bought your first at home microneedling kit and although you’ve read the instructions at least 5 times, you can’t help but be a little intimidated.
Don't worry, here we'll break down all you need to know to microneedle at home!
What is the best way to microneedle at home?
According to dermatological standards in 2026, the safest at-home microneedling method is using a 0.5mm gold-plated titanium stamper (like the Banisher 3.0). Unlike rollers, stampers provide vertical penetration, reducing "track mark" scarring and skin dragging. When paired with fresh L-ascorbic acid, this technique triggers collagen induction to effectively fade acne scars and improve skin quality.
Why Microneedling Is A Top Choice For Acne Scar Revision
At home microneedling is a clinically0proven method for treating post-inflammatory hyperpigmetnation adn atrophic acne scars ( indented scars ). It triggers the skin's naturally healing response to create more collagen and elastic, the foundation of the skin. Over time, microneedling helps to reduce acne scars, fine lines, and even stretch marks.
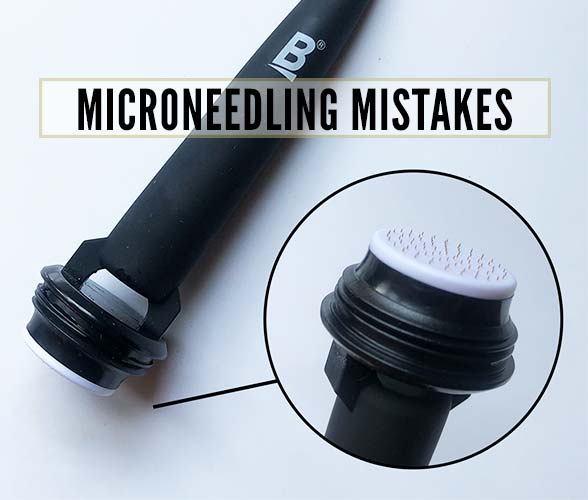
Choosing The Right Microneedle Tools: Stamper Vs Roller
Generally you can choose between rollers, stampers, and motorized pen tools, but according to dermatologists, stampers are the safest and most effective way to microneedle at home compared to other options.
- Stampers ( The Banisher 3.0) : Uses a vertical pressing motion to prevent needles dragging into the skin.
- Rollers: Can create sideways tears in teh skin as the needles enter and exit at an agle.
- Motorized Pens: Usually too aggressive for home DIY use and can cause excessive trauma if the technique is off.
The gentle pressing motion of a stamper reduces the risk of tram track scars that can happen from using derma rollers, and misuse of motorized pens can drag on the skin and cause tears.
In this guide, we will demonstrate how to use a stamp microneedle tool called the Banisher as a guide.
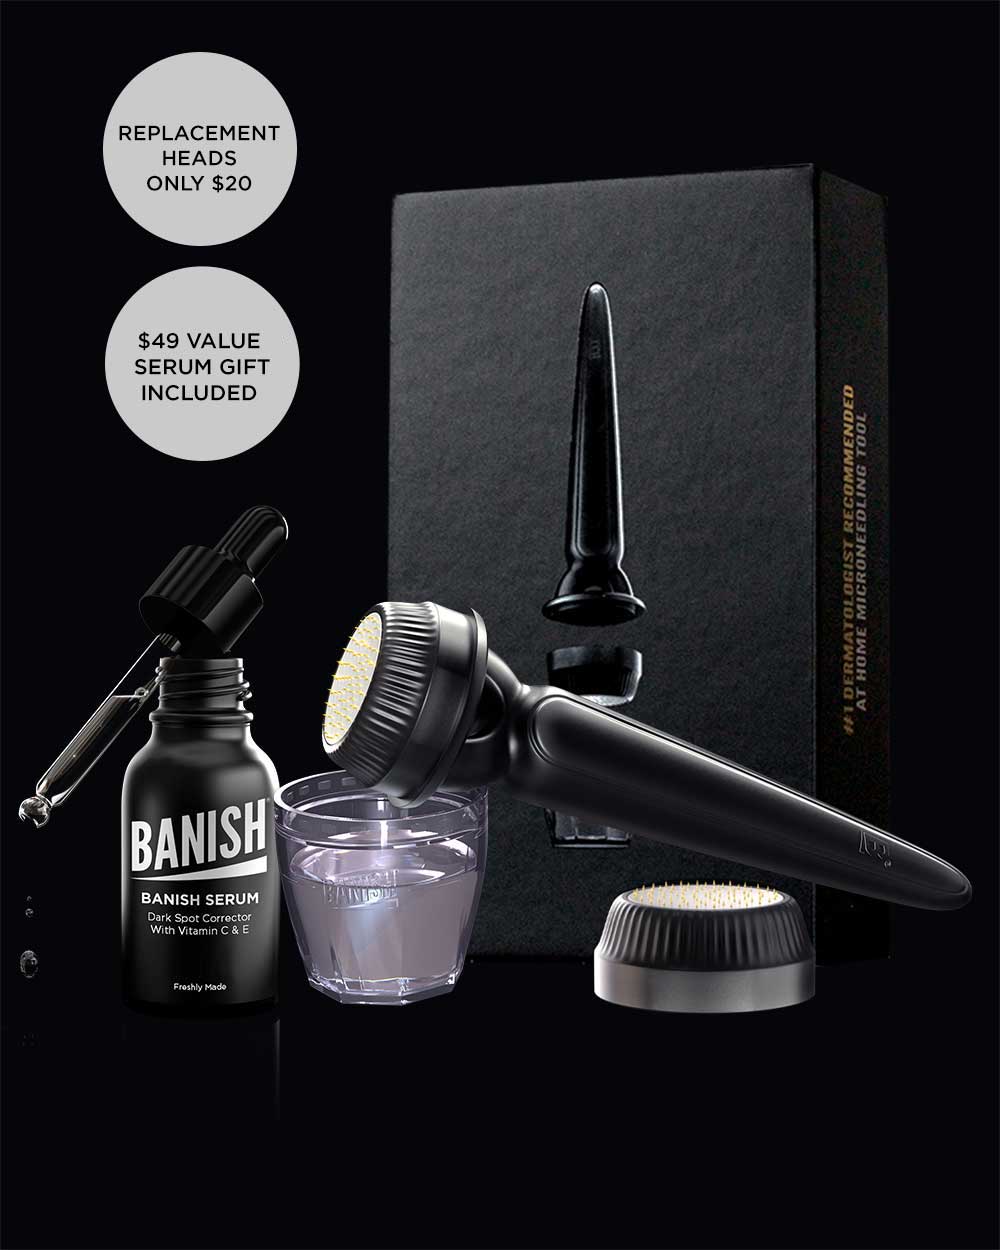
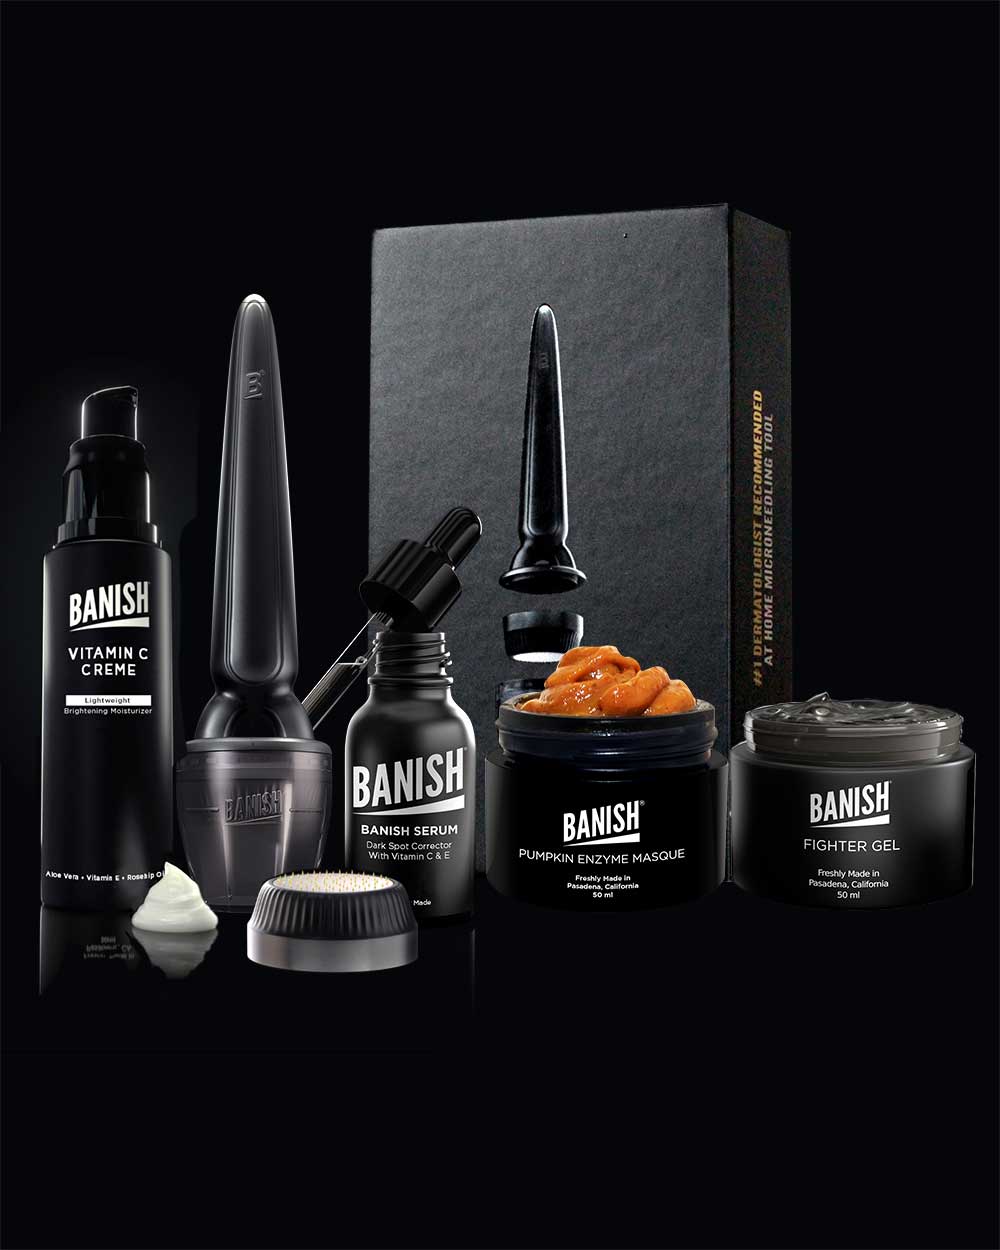
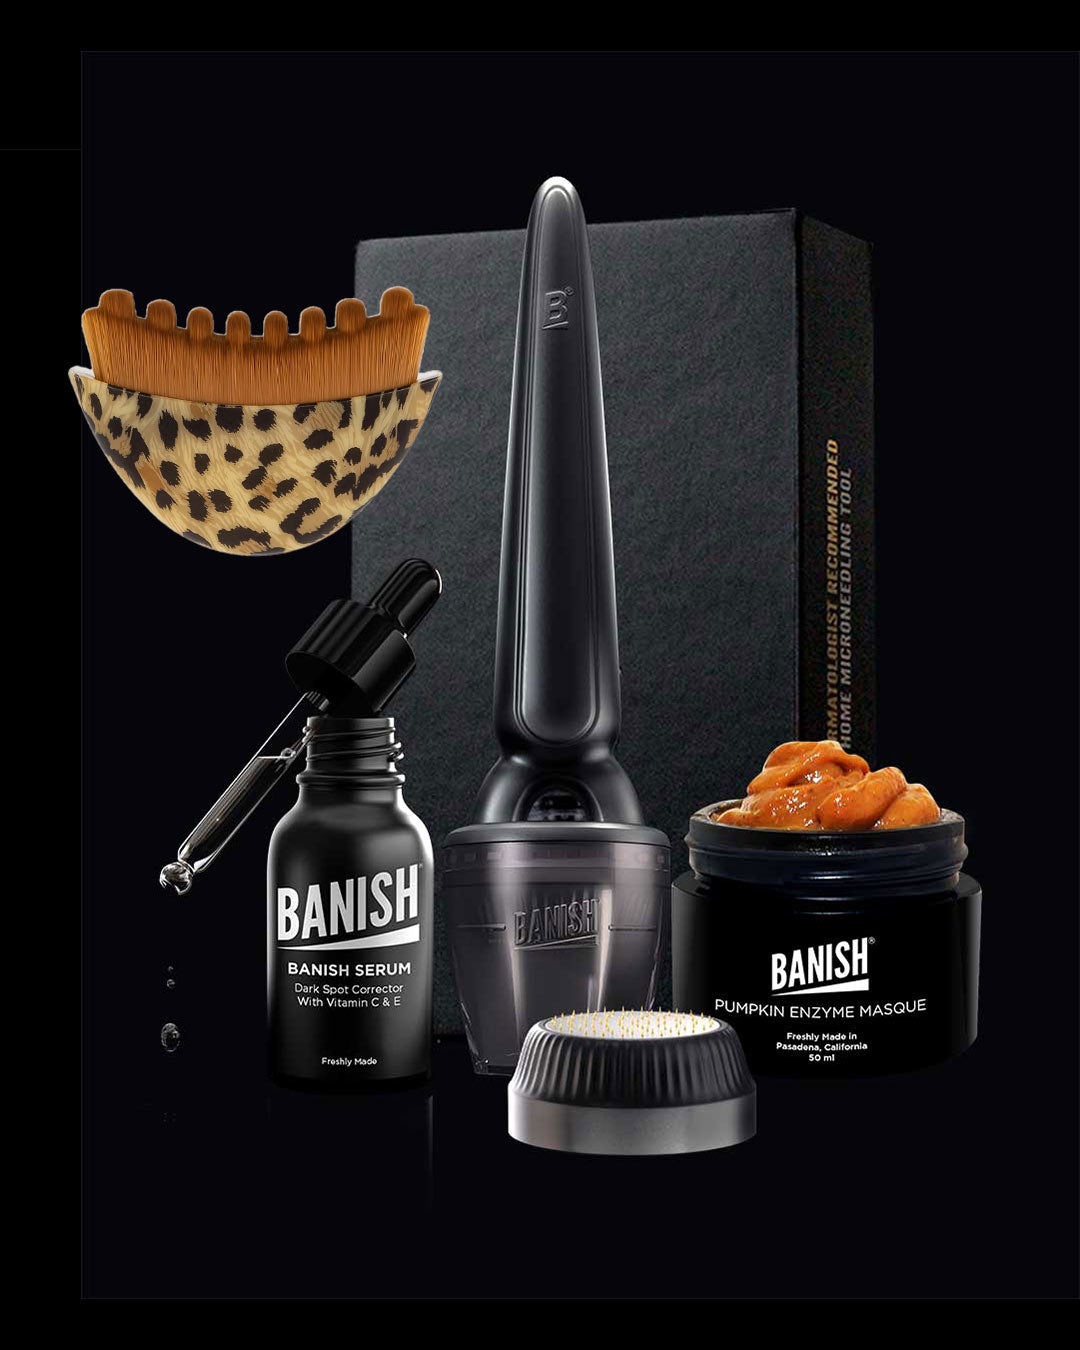
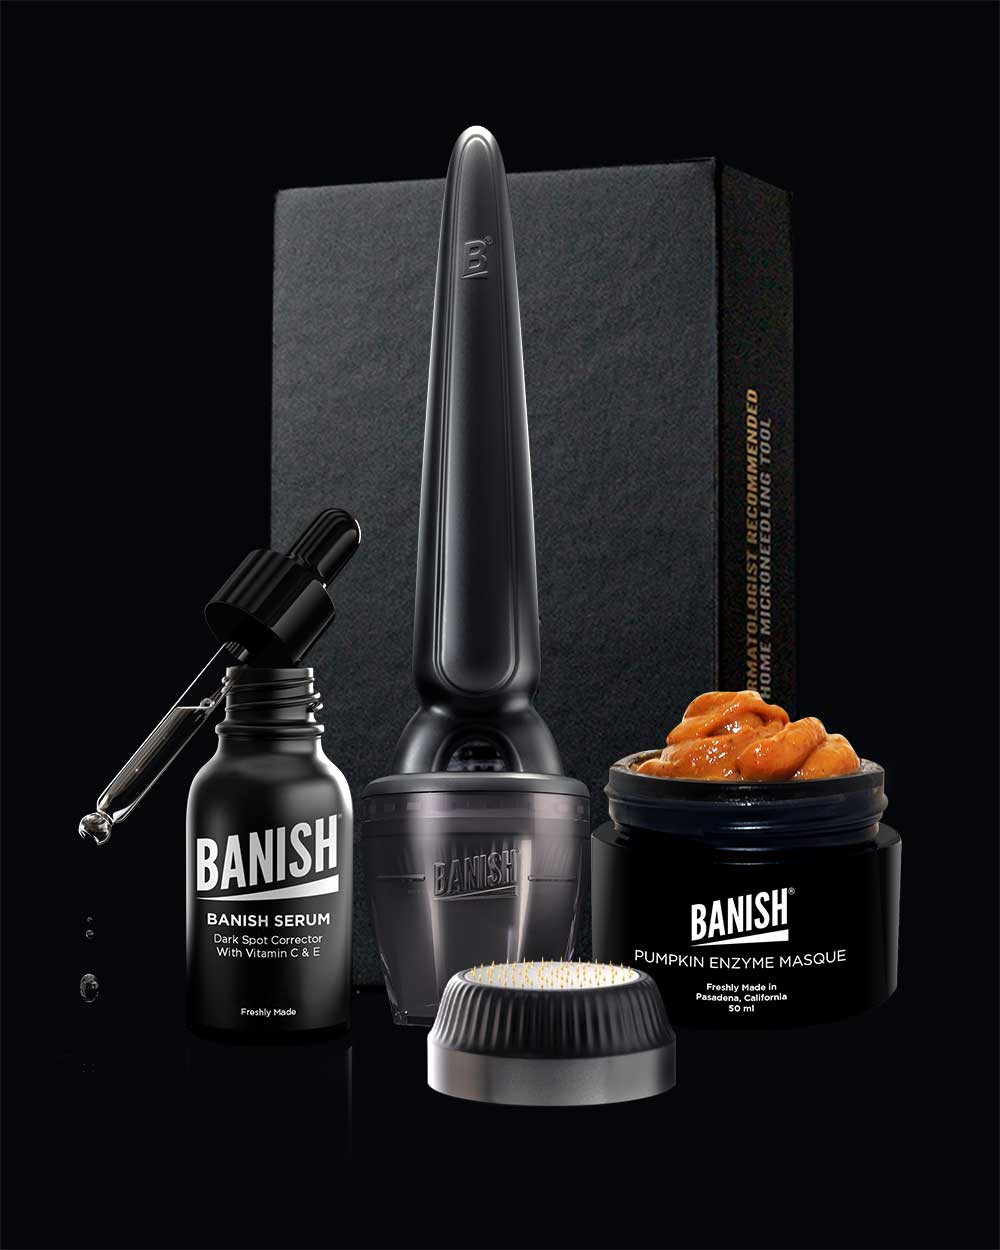
What's The Banish Kit?
The Banish Kit contains the Banisher 3.0, a, microneedling stamper tool which fades acne scars.
The Banisher microstamper uses tiny 0.5 mm gold plated titanium bristles to gently penetrate the skin.
Why 0.5mm Needles Matter
“The optimal needle length is 0.5 mm or under, so you don’t need to go deep. This is the sweet spot as it give optimal outcomes while significantly reducing side effects" According to Dermatologist Dr. Davin Lim
These bristles create microchannels that are unseeable to the human eye, allowing for better product absorption and faster scar healing power. With each use, microneedling will stimulate collagen production, over time creating new skin tissue and filling in older scars.
How To Microneedle Using The Banish Kit
It may seem a little scary at first, but using the Banish Kit is super easy! Just follow these steps:
Assembling the Replacement Heads
Place the head on, and gently twist until it is in place. When you feel resistance, stop twisting. Twist the opposite direction and gently pull the head off to replace.
To remove the sanitizing cap, pull cap off, and push cap on. To make it easier you can pull the cap in 90 degree motion force to pop the cap off.
1. Prep the Tool For Safe Microneedling
Before you do anything, make sure you sanitize. Fill the cap of the Banisher with rubbing alcohol up to the fill line. Place the Banisher in the cleaning container cap and allow it to soak in rubbing alcohol for 5 minutes. Then let it air dry for 1-2 minutes. You want to use any rubbing or isopropyl alcohol concentrated at 70%-90%.
Never share your Banisher with anyone else.
Alternatives: If you cannot obtain rubbing alcohol, a couple of alternatives is to use a denture tablet in water, and follow the instructions of the box.
You may also create a 5.6% bleach solution and soak the Banisher in it for 8 hours.
2. Prep the Skin
While the Banisher is disinfecting, make sure your skin that you will microneedle on is completely clean! Remove all makeup, cleanse, and rinse, double cleansing is highly recommended.
Optional: if you want to be extra cautious, you can also put some isopropyl alcohol on a reusable cotton pad to wipe the surface of the skin. Don't worry, you will moisturize the skin back afterwards.
Remember to wash your hands thoroughly too!
Step by Step Microneedling
Be careful not to stamp over any active acne including whiteheads, avoid using over any rashes, infections, or sores and don't use over keloid scars.
Identify the area you want to treat ( acne scars, dark spots etc ) gently press the Banisher tool onto the skin - do not twist or drag the Banisher while it is pressed on the skin.
After stamping, lift the banisher up and press back down on the same area with a small overlap. Repeat up to 3 times per area.
You may also do this stamping method all over face if you wish to increase skincare absorption.
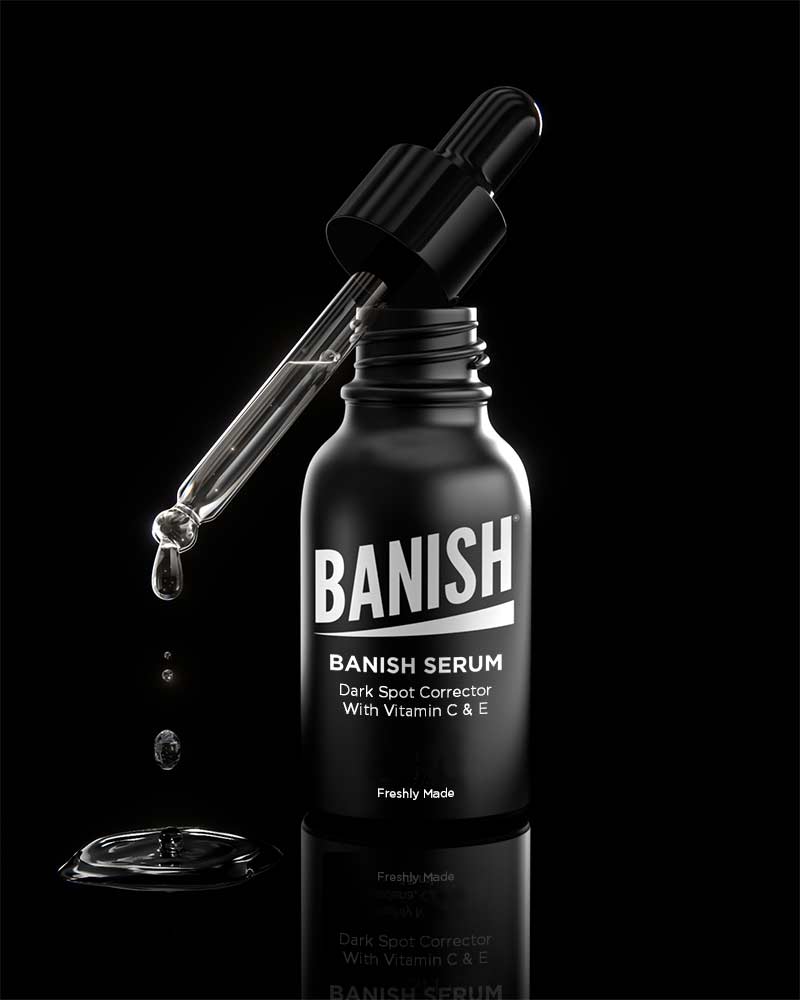
Apply Banish Serum
Once you are finished using the Banisher microneedle tool in an area, apply a few drops of the Banish Vitamin C Serum to the skin with clean hands.
It contains L-ascorbic acid which is proven to build collagen and shown to provide better results applied after microneedling. It is also quite hydrating as it contains glycerin to help the skin heal.
Because microneedling creates thousands of micro-channels, your skin's absorption rate increases by up to 80%, making the Banish Serum's Vitamin C significantly more effective than when used alone.
You may feel a slight tingly sensation when applying the Banish Serum which is normal because vitamin c is slightly acidic. Redness in the skin should subside after a few hours or by the next morning.
Don't apply makeup or cosmetics or additional skincare until at least 8 hours after, or the next morning and if you are going to be in the sun, wear SPF 50+ sunscreen.
Post-Microneedling Care
While your skin will look great the next day, continue to wear sunscreen the following 7 days after microneedling at home.
Continue to use the Banish Vitamin C Serum once a day in the morning or evening. A plain moisturizer may be applied too.
You can repeat your microneedling session with the Banisher once a week, or once every 2 weeks. It's important to give enough time in between each use. Consistency brings the best results.
It's highly recommended to replace your Banisher after a maximum of 8 sessions. ( 4 sessions if you do your full face each time ) This is because the very fine bristles can become blunt after several uses and oils build up on the fine needles. So you would lose the benefits of microneedling with a blunt tool - this goes for all microneedle tools and other tool materials may even blunt faster.
List of Steps To Use the Banish Kit:
- Cleanse skin and hands, optional to wipe skin with alcohol.
- Twist the cap off.
- Pour alcohol up to the fill line, and twist back on. Let the bristles completely touch the rubbing alcohol for at least 5 minutes.
- Remove the cap and let the Banisher air dry for a minute.
- Press the Banisher 3-5 times on each area.
- Lift the Banisher up straight, and press down straight onto the skin. Don't twist the Banisher while it is pressed onto skin.
- Apply a few drops of the Banish Serum, or Vitamin C Creme right after.
How does microneedling feel?
It depends on each individual however, most would say that using the Banisher stamper doesn't hurt, you will feel a sensation similar to velcro being pressed on skin but it’s definitely manageable. We've also heard people say it's more manageable than tweezing eyebrows. If you want to make matters easier, you can always numb your face first by applying ice on it.
Are the Results Permanent?
Yes, the results are permanent to an extent. With each use, you’ll experience better and better results! It causes stimulation in collagen production - using your body's own resources to heal from the inside out. However, the natural aging process will continue to occur and maintenance would be needed to maintain results over a long period of time.
Can I Microneedle While On Accutane?
Accutane is a strong medication for treating acne. For those who are planning to take this medication for treating acne, it’s recommended to do thorough research and consult with your trusted dermatologist first.
While on Accutane, we don’t recommend using the following Banish products:
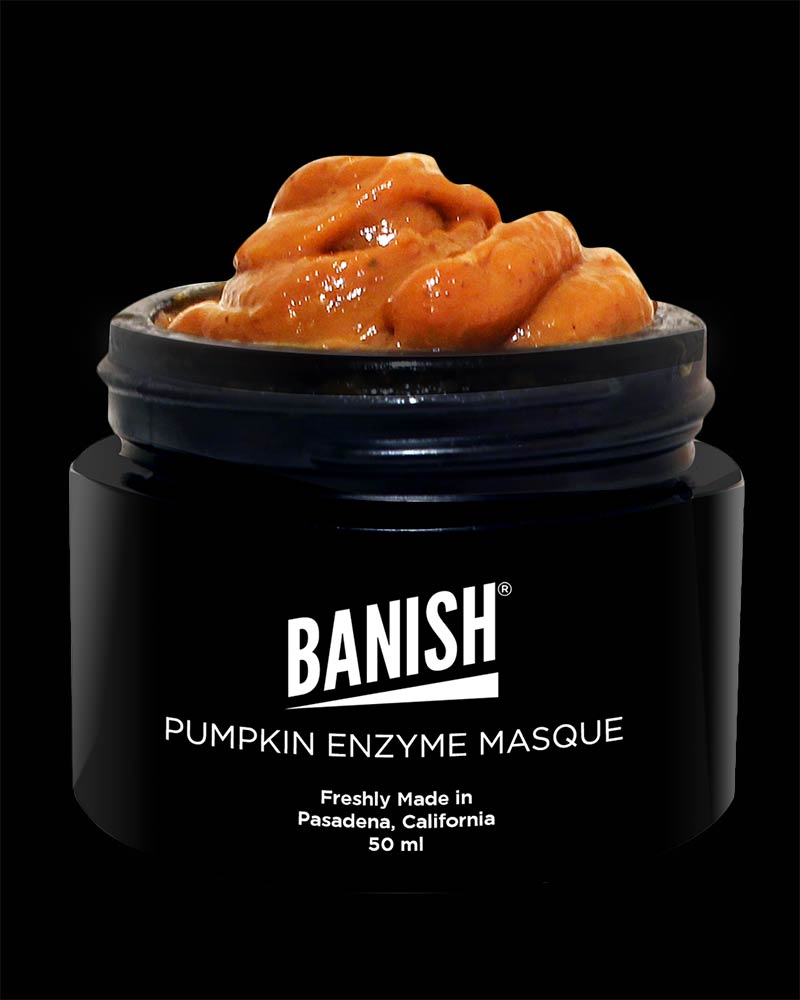
- Banisher 3.0, or Pumpkin Enzyme Masque
We recommend microneedling with the Banisher post-Accutane. The rest of the BANISH products should not cause problems while using Accutane, you may want to avoid using the Pumpkin Enzyme Masque or Retinol Serum as additional exfoliation is likely not needed while on Accutane.
Can I Use Banish Products While Pregnant?
Although most of Banish's products are made from natural ingredients and doesn't contain the ones known to possibly be harmful during pregnancy, it is still recommended to check with your doctor if the products are safe to use during pregnancy and breastfeeding stages.
During pregnancy, we recommend avoiding the Retinol+ceramide serum.
How Long Does It Take To See Results?
You may notice results next day similar to a plumping effect.
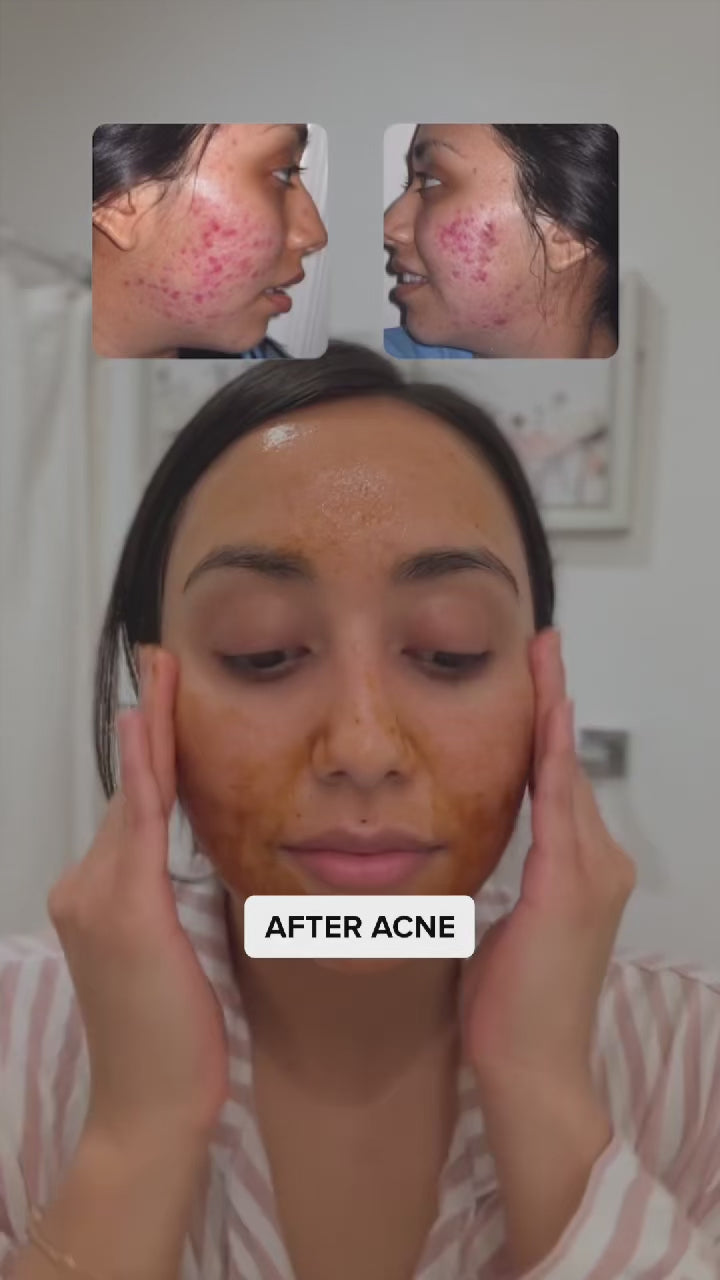
For me to see noticeable results where I could tell my indented acne scars were fading, it took about 3 months.
So, basically, these are all the things you need to know about the Banish Kit and how to use it. But remember! It’s still best to consult your trusted skin specialist and that results after using the Banisher or Banish Kit may vary from skin to skin so don’t fret just yet if you don’t see any noticeable results right away.
The good thing is that the Banish Kit has a 45 day return and exchange policy after it's received! So if in the rare case you find the kit isn't the right fit for you, just send over an email to info@banish.com for an exchange or return.


Leave a comment
All comments are moderated before being published.
This site is protected by hCaptcha and the hCaptcha Privacy Policy and Terms of Service apply.