Banisher 3.0 vs Microneedling Pens: What’s Actually Safer for At-Home Use?
Quick Answer: For at-home microneedling, a manual stamping tool like the Banisher 3.0 is generally easier to control and less likely to cause dragging or uneven pressure compared to motorized pens. That control matters when you’re trying to improve skin without causing unnecessary irritation or marks.
If you’ve been looking into microneedling at home, you’ve probably seen a lot of motorized pens marketed as “professional-grade.” On paper, they sound more advanced. In practice, they can be harder to control than people expect.
This guide breaks down the real differences so you can decide what actually makes sense for your skin.
Why Tool Choice Matters More Than People Think
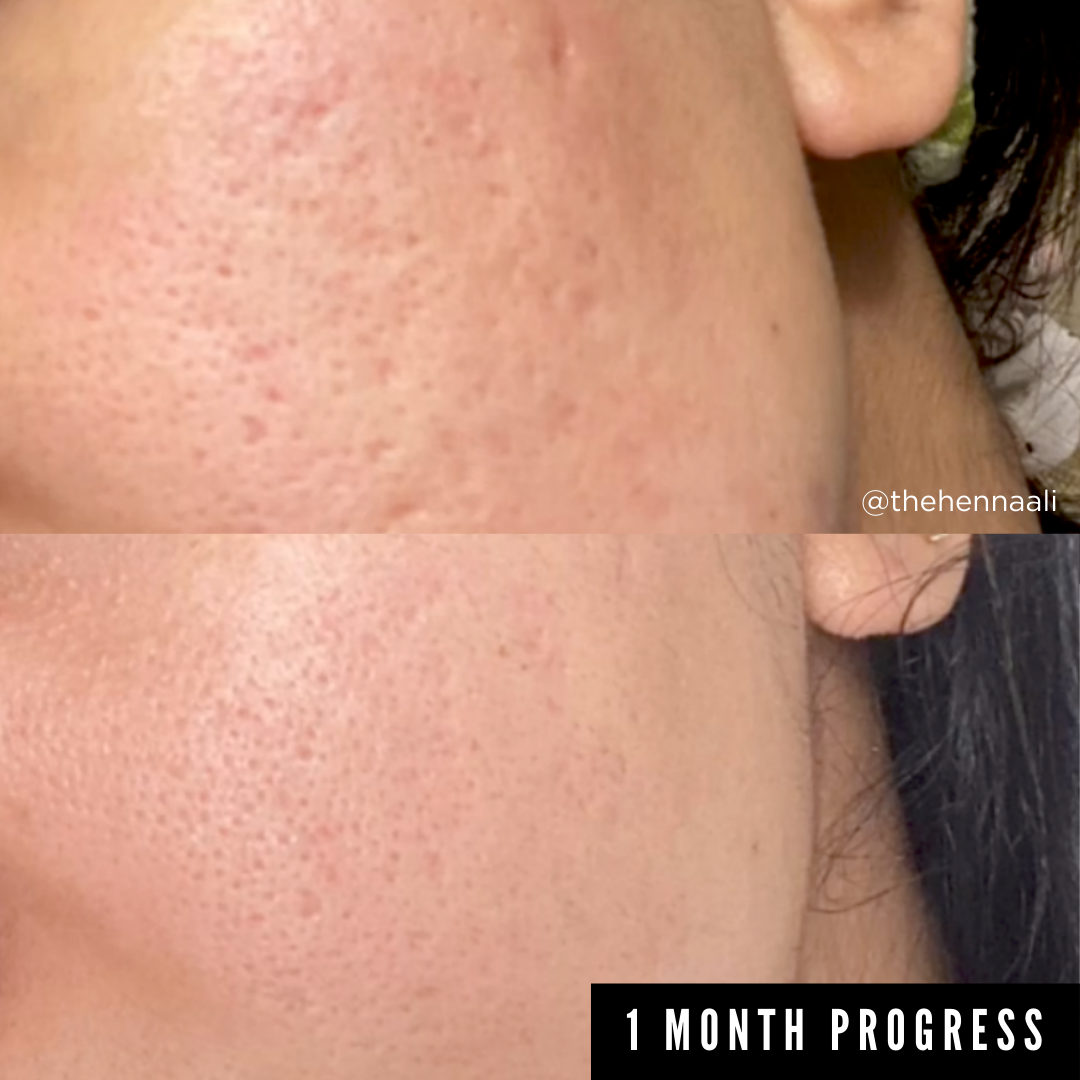
Microneedling works by creating controlled micro-injuries that trigger your skin’s natural repair process.1 That process is what helps improve the look of acne scars, texture, and fine lines over time.2
The key word here is controlled.
If the needles don’t enter and exit cleanly, or if there’s dragging across the skin, you’re not just creating micro-channels. You’re creating unnecessary trauma.3
At home, control matters more than speed.
The Reality Behind Motorized Microneedling Pens
If you search for “best microneedling pen,” you’ll notice a lot of tools look nearly identical. That’s not a coincidence.
Many of these devices are based on similar white-label designs. Different brands use the same base motor and housing, then market them differently.
That doesn’t automatically make them bad, but it does mean the difference often comes down to how they’re used.
Where problems can happen
- High-speed movement: Motorized pens move rapidly up and down. If your hand shifts slightly, the needle can move across the skin instead of staying perfectly vertical.
- Technique sensitivity: These tools require a steady hand and consistent pressure. That can be harder for beginners.
- Uneven passes: Moving too fast or slow, or pressing unevenly can lead to inconsistent results.
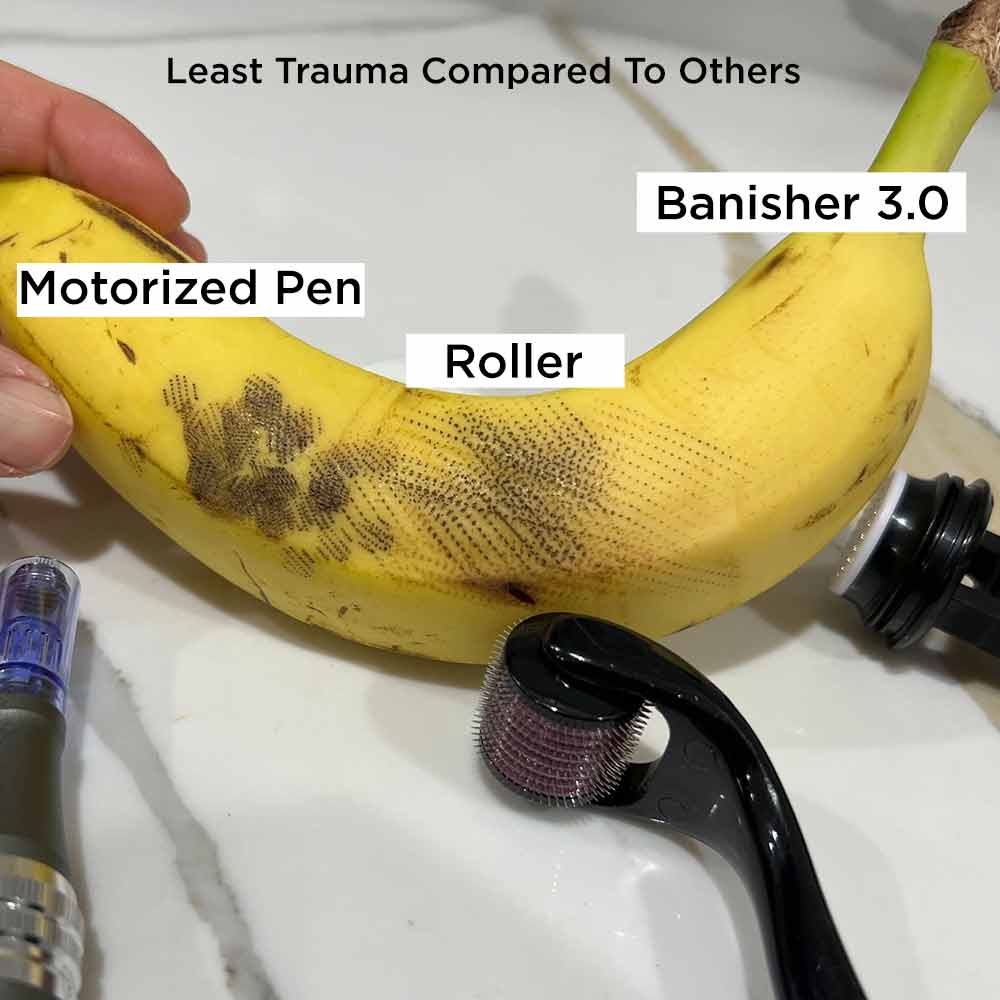
Some users report seeing lines, grid-like patterns, or prolonged irritation when using motorized pens incorrectly. That usually comes down to technique, not just the tool itself.3
Why Manual Stamping Is Easier to Control
A manual stamp works differently. Instead of relying on a motor, you press and lift the tool with each application.
That slower pace is actually an advantage especially when it comes to microneedling at home.4
1. More control with each pass
With a tool like the Banisher 3.0, each stamp is intentional. You place it, press, then lift before moving to the next area.
This makes it easier to:
- Keep the needle entry vertical
- Avoid dragging across the skin
- Control pressure in different areas of the face
2. Consistent depth without relying on a motor
Motorized pens depend on speed settings and consistent hand movement. A manual stamp removes that variable so you can work at your own pace.
3. More beginner-friendly
For at-home use, simpler is often safer. A manual tool reduces the chances of overdoing it or moving too quickly.4
Needle Quality and Why It Matters
Not all needles are the same, and this part gets overlooked.
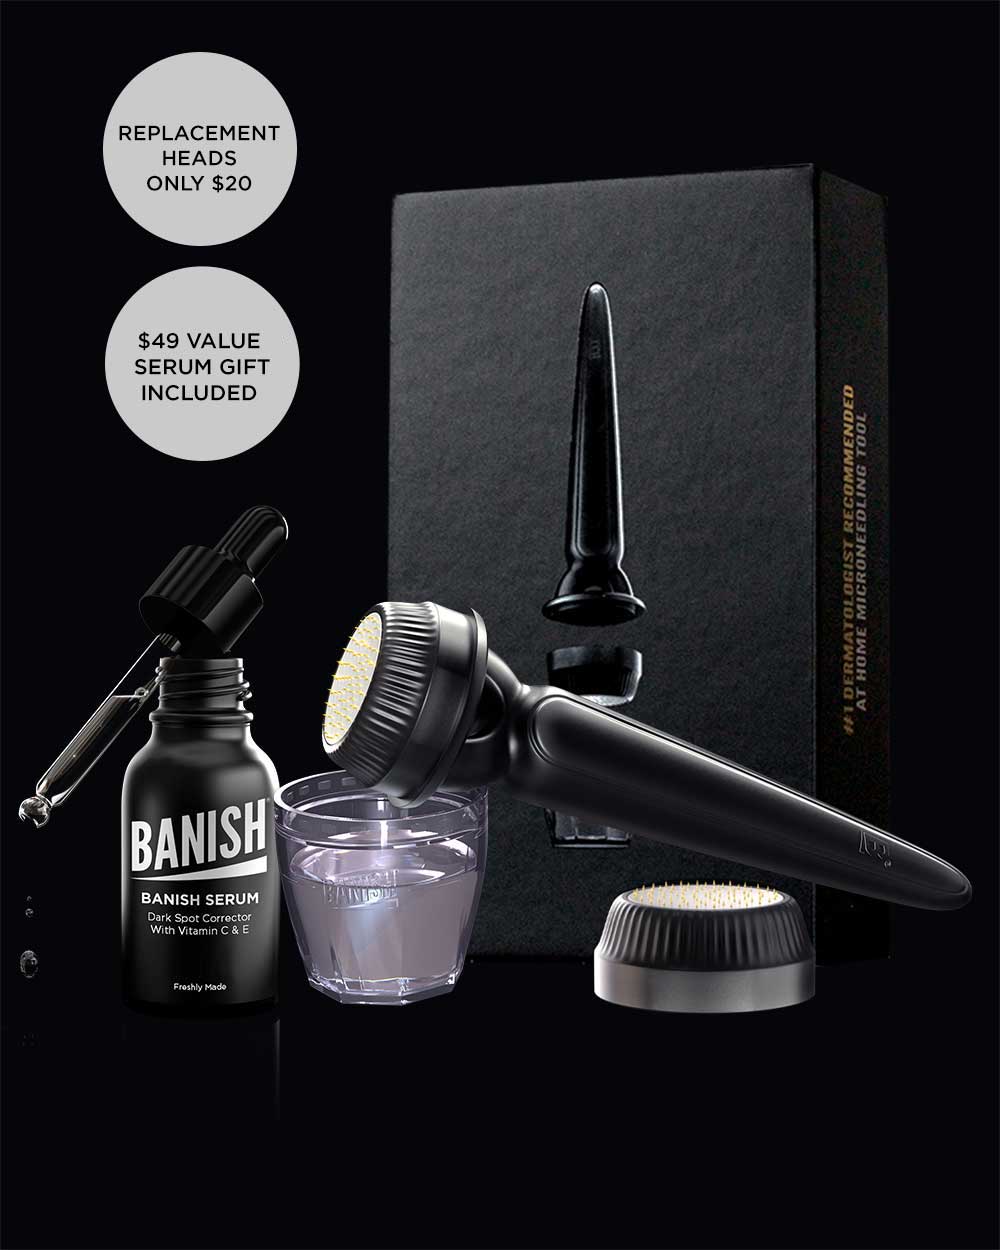
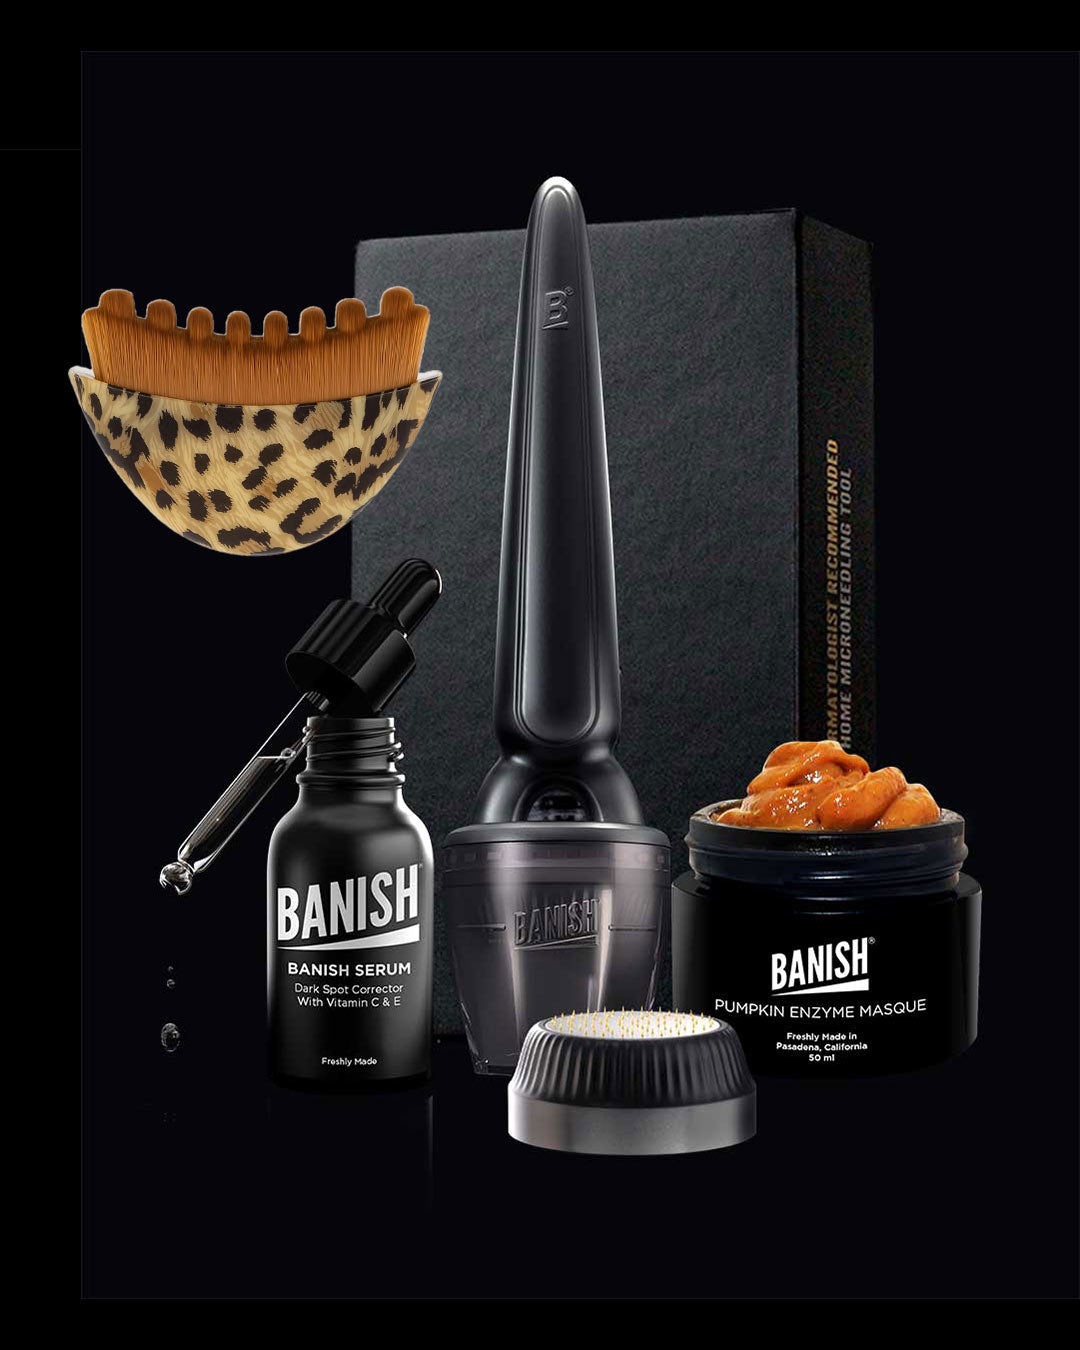
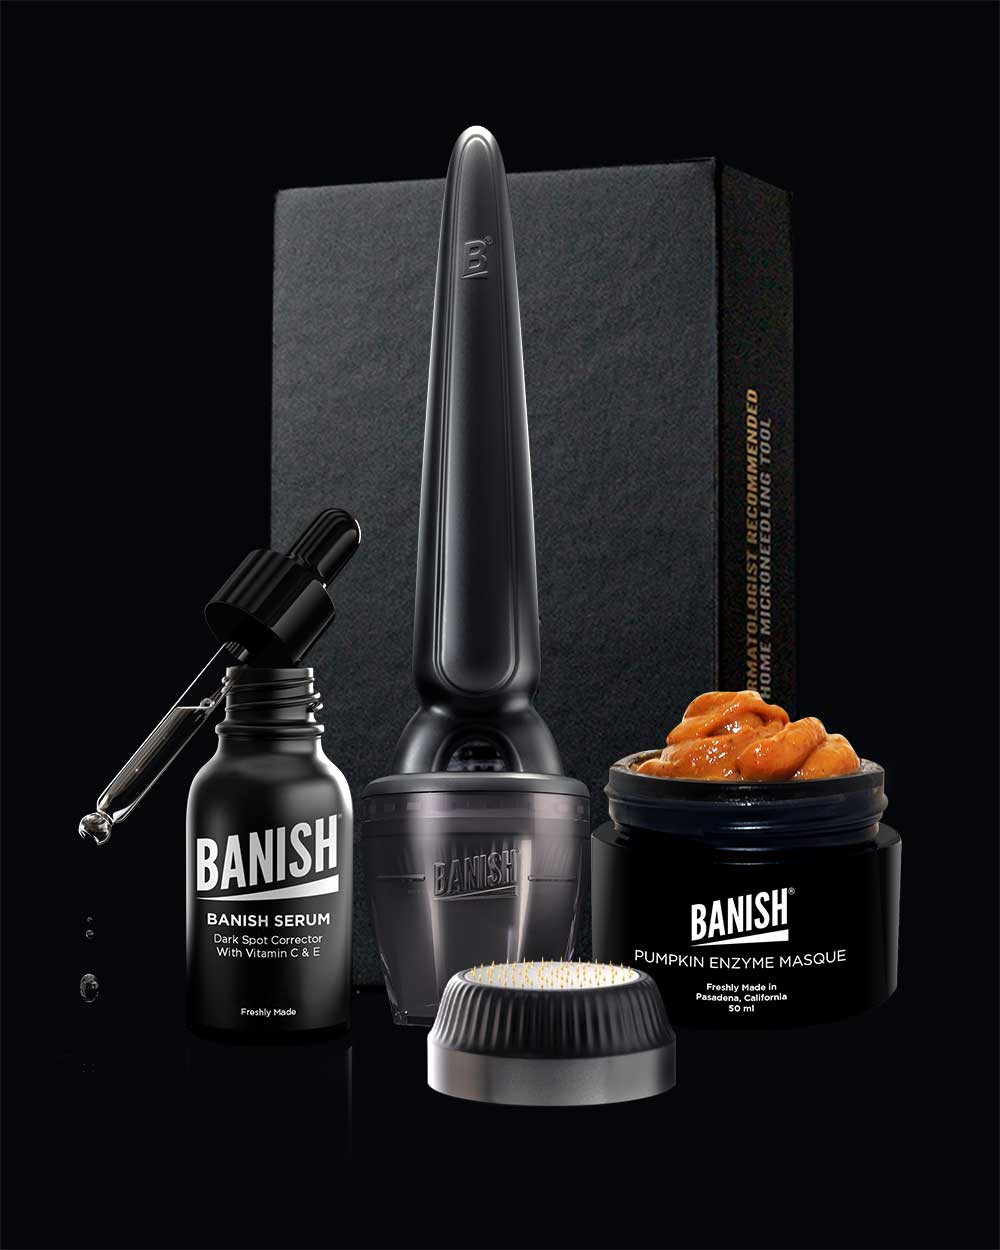
The Banisher 3.0 uses gold-plated titanium needles.
- Titanium: Stronger and more durable than standard stainless steel, which helps maintain sharpness.5
- Gold plating: Helps reduce the risk of irritation and it supports better hygiene during use since gold has anti-microbial properties.6
With microneedling, you want precise entry. Dull or uneven needles can increase irritation and lead to more unwanted side effects like scratches on the skin.
Replaceable Heads and Practical Use
Another factor is how the tool fits into a real routine.
The Banisher 3.0 uses replaceable heads, which allows you to adjust based on your goals:
- 0.25mm: helps improve product absorption or for thin areas of the skin
- 0.5mm: commonly used for overall tone, texture, and collagen boosting
- 1.0mm: used more cautiously for deeper concerns on thicker parts of the skin like acne scars on the cheeks, or for the body.
This makes it easier to stay consistent without needing multiple devices. You can learn more about choosing the right depth in our at-home microneedling guide.
Heads can also be sanitized using isopropyl alcohol, which keeps things simple.
Comparison: Motorized Pens ( like a Dr. Pen) vs Banisher 3.0
| Feature | Motorized Pens | Banisher 3.0 |
|---|---|---|
| Motion | High-speed vibration | Manual vertical stamping |
| Control | Depends heavily on technique | More controlled, step-by-step |
| Ease of Use | Steeper learning curve | Beginner-friendly |
| Consistency | Can vary with speed and pressure | More consistent placement |
| Needle Material | Often standard stainless steel | Gold-plated titanium |
| Maintenance | Disposable cartridges | Replaceable, sanitizable heads |
Is Faster Actually Better?
It’s easy to assume faster tools are more effective, but microneedling doesn’t work that way.
You’re not trying to cover your face as quickly as possible. You’re trying to create controlled, even stimulation so your skin can repair itself properly.1
Rushing or using too much force usually leads to more irritation, not better results.3
How This Affects Your Results
The biggest difference most people notice comes down to how their skin reacts after.
- More controlled application leads to less irritation
- Less dragging means lower chance of marks or uneven healing
- Consistent technique leads to better long-term results
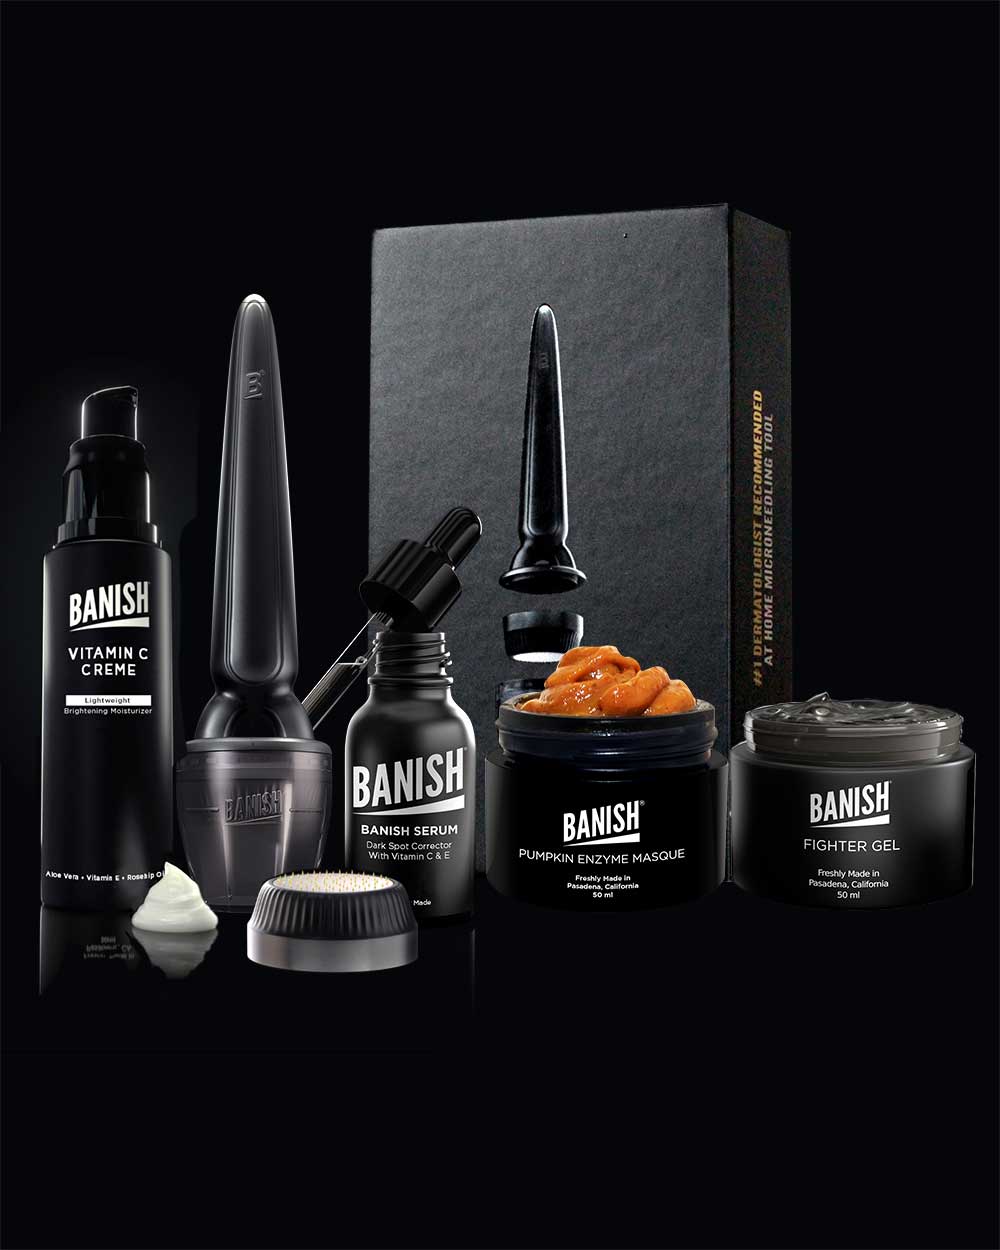
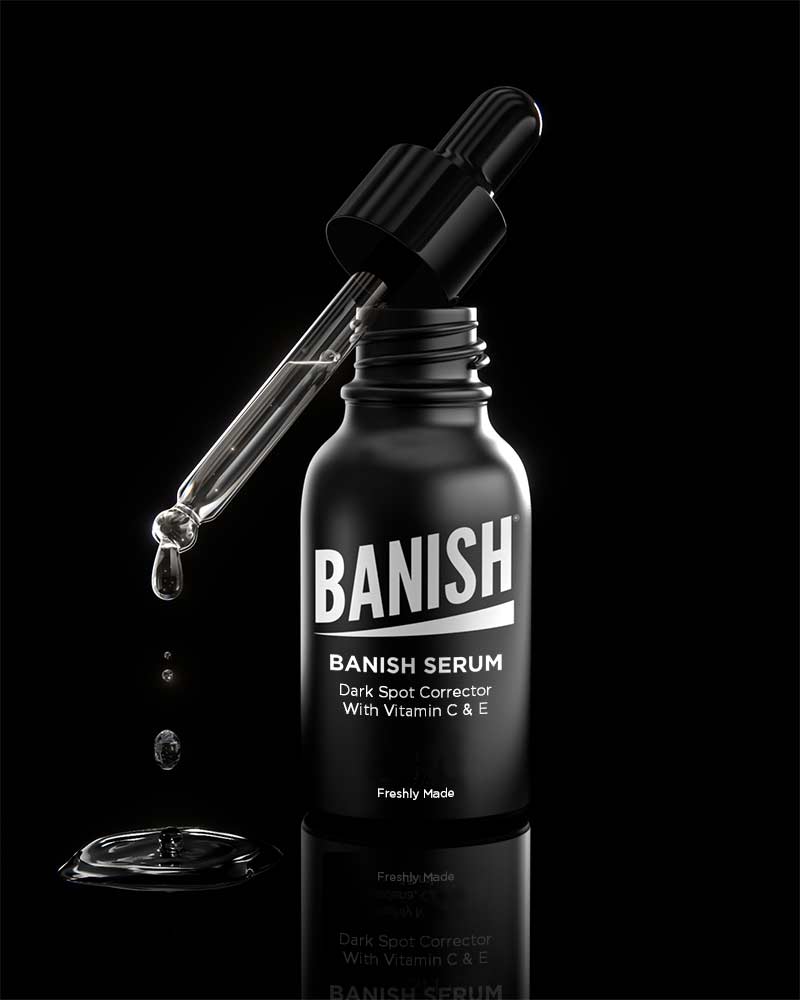
That’s why many people prefer starting with a manual tool before considering anything more aggressive. For best results, pair your treatment with the Banish Vitamin C Serum to support collagen production.
How to Use It Safely at Home
If you’re new to microneedling, keep it simple:
- Start with 0.5mm for general skin and collagen improvement
- Space sessions out instead of doing it too often
- Keep your aftercare simple and gentle
- Always sanitize your tool and skin before use
If you’re not sure what to apply afterward, this guide breaks it down step by step:
What to Use After Microneedling at Home
Conclusion
At-home microneedling isn’t about using the most advanced-looking tool. It’s about using something you can control.
Motorized pens can work, but they leave more room for user error, especially if you’re new.
A manual stamp like the Banisher 3.0 keeps things simple. You control the pressure, the placement, and the pace.
That’s what makes the biggest difference over time. For a complete strategy, check out our Microneedling Aftercare Guide.
References
- Iriarte C, et al. Review of applications of microneedling in dermatology. PMC
- Jaiswal S, et al. Microneedling in Dermatology: A Comprehensive Review of Applications and Techniques. PMC
- FDA. Microneedling Devices: Getting to the Point on Benefits, Risks, and Safety. FDA
- Gowda A, et al. A systematic review examining the potential adverse effects of microneedling. PMC
- Dermaroller Shop. Stainless Steel or Titanium Needle Roller – Which is Better for You? Dermaroller Shop
- Waghule T, et al. Microneedles: A smart approach and increasing potential for transdermal drug delivery. ScienceDirect


Leave a comment
All comments are moderated before being published.
This site is protected by hCaptcha and the hCaptcha Privacy Policy and Terms of Service apply.